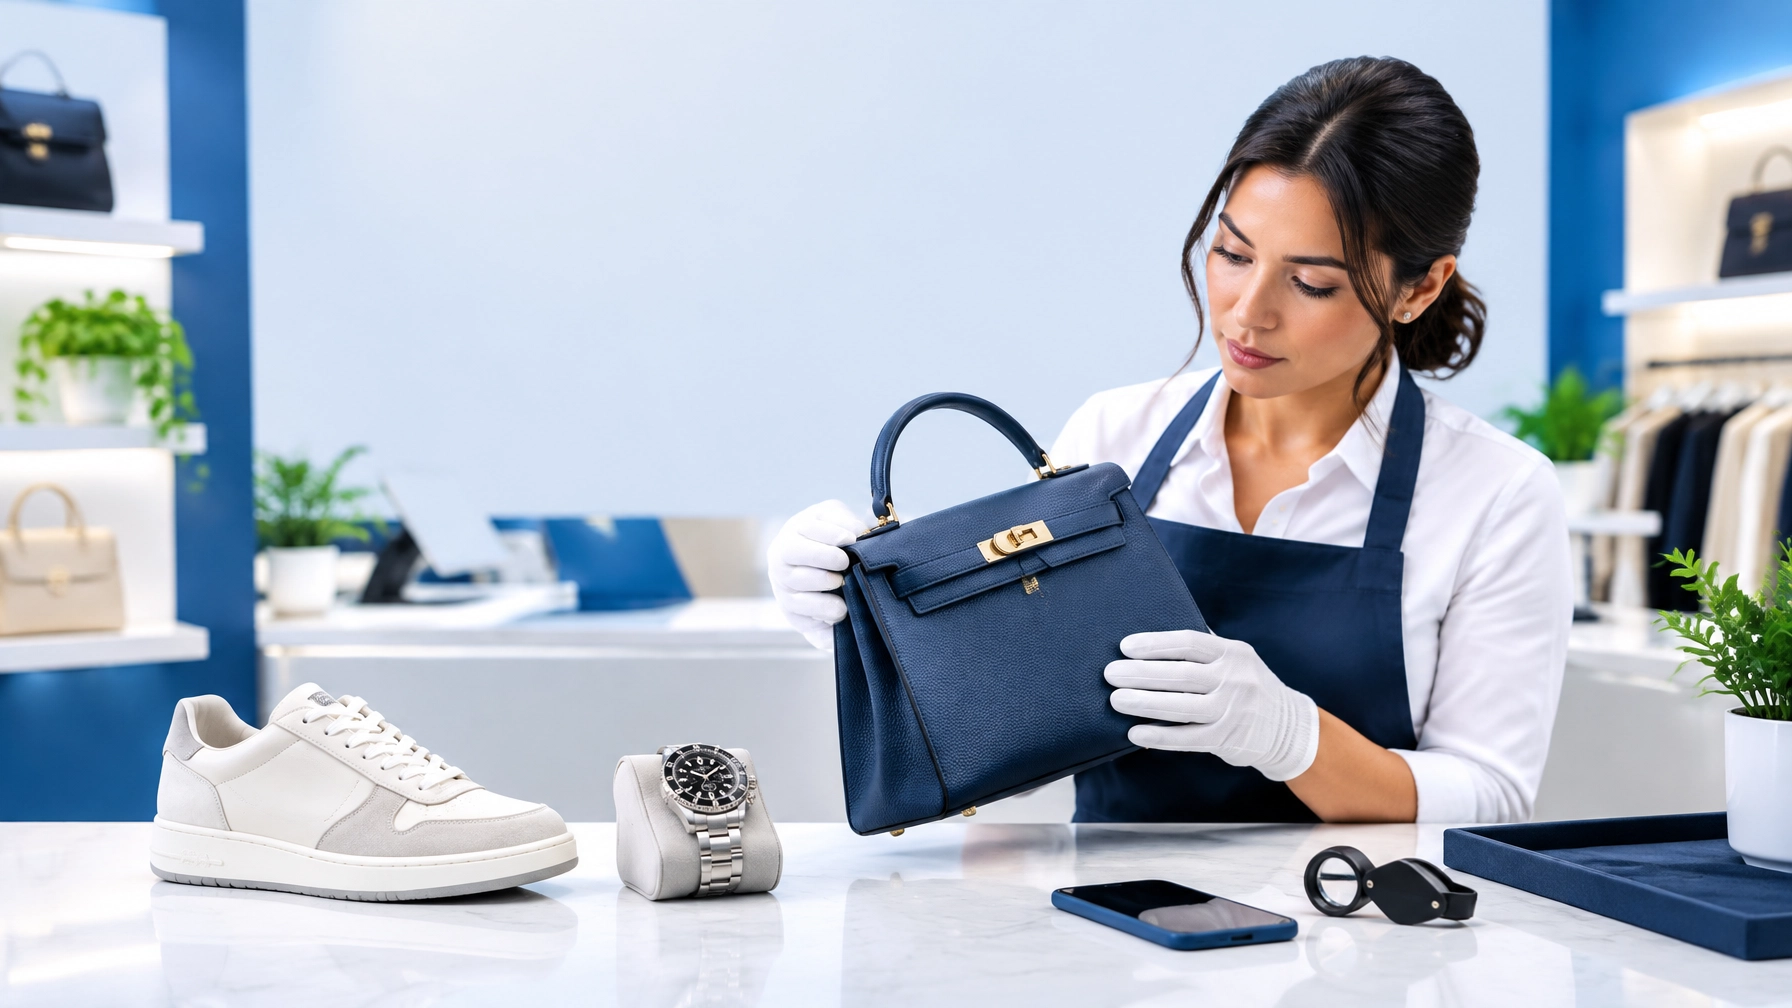
How many times a week does a customer ask, “Is this real?”
For resale stores, pawn shops, thrift stores, and TikTok sellers, the answer can affect more than one transaction. A counterfeit can lead to:
- Lost revenue
- Customer complaints and returns
- Damaged store reputation
- Staff confusion
- A costly mistake on a high-value item
Your front-counter team does not need to complete a full authentication in 60 seconds.
They do need to identify obvious red flags, document the item correctly, and know when to stop guessing.
That is the goal of this process.

A 60-second check is triage, not a final authentication.
The 60-Second Luxury Item Triage
Train staff to use the same sequence every time:
- 0–10 seconds: Confirm the item and transaction
- 10–30 seconds: Inspect construction and materials
- 30–60 seconds: Check markings, codes, and risk signals
- After 60 seconds: Accept, hold, or escalate
Consistency matters. A simple checklist used on every handbag, sneaker, and watch is more reliable than relying on memory or intuition.

0–10 Seconds: Confirm the Basics
Start with the item’s identity. Do not begin by staring at one stitch or logo.
Ask three fast questions
- What brand is it?
- What model, style, or reference is it?
- Does the item appear to match that description?
The model should exist. The colorway should make sense. The size and design should match the claimed item.
A seller may say “limited edition” or “rare vintage.” That description should not replace basic verification.
Check the price and story
A very low price is not proof of a counterfeit. It is a risk signal.
Ask:
- Is the asking price dramatically below normal resale value?
- Does the seller’s story match the item’s condition?
- Is the item supposedly new but showing heavy wear?
- Are accessories included that do not fit the claimed age or model?
A good deal can be legitimate. But an unusually low price combined with other warning signs deserves extra attention.
Teach staff to pause
The first 10 seconds should answer one question:
Does this item make sense on a basic level?
If the brand, model, price, or seller explanation feels inconsistent, mark the item for closer review.
10–30 Seconds: Inspect Construction and Materials
Now move from the story to the physical item.
Staff should inspect the areas that are difficult for counterfeiters to reproduce consistently:
- Materials
- Stitching
- Hardware
- Seams
- Weight and overall feel

Handbags
Check:
- Leather or coated canvas texture
- Handle construction
- Stitching around corners and stress points
- Interior lining
- Zippers, clasps, feet, and other hardware
- Overall structure
Loose threads, uneven stitching, wavy seams, peeling hardware, or a strong chemical smell are warning signs.
Do not rely on one detail alone. Some authentic items show wear, repairs, or production variation. Look for a pattern of inconsistencies.
Sneakers
Check:
- Toe box shape
- Upper material
- Heel structure
- Stitching around logos and panels
- Glue overflow
- Insole and tongue construction
- Box quality and label alignment
A shoe may look convincing from a distance but show problems up close. Look for blurry printing, incorrect spacing, rough edges, excessive glue, or materials that feel noticeably cheap.
Watches
Check:
- Overall weight
- Bracelet or strap construction
- Dial printing
- Index alignment
- Crown and clasp finishing
- Engravings
- Seconds-hand movement, when appropriate
Luxury watches require specialist knowledge. A quick check can identify obvious problems, but it should not be treated as a final verdict, especially for high-value brands.
Train hands-on, not just with slides
Use sample items during staff training. Include:
- Authentic pieces
- Obvious counterfeits
- Damaged authentic pieces
- Items with repairs
- Borderline examples
Ask employees to explain what they see. The purpose is not to create overconfidence. It is to build a repeatable inspection habit.
30–60 Seconds: Check Markings, Codes, and Consistency
The final 30 seconds focus on branding and identifying information.
Inspect logos and text
Look at every visible brand marking.
Check for:
- Misspellings
- Incorrect fonts
- Uneven letter spacing
- Crooked logos
- Blurry printing
- Poorly stamped interior labels
- Mismatched branding between parts
Brand markings should be crisp and consistent with the item’s claimed model and production period.
A logo that looks “close enough” is not enough for a high-value purchase.
Review serial numbers and reference codes
Depending on the category, the item may have:
- A serial number
- Date code
- Style code
- Reference number
- Production label
- Microchip or digital identification
Staff should check whether the code:
- Exists where it should
- Uses a plausible format
- Matches the model
- Matches the box or accessories
- Is consistent with the claimed age
A code is supporting evidence. It is not automatic proof of authenticity. Counterfeiters can copy real numbers, and authentic items can have missing or worn markings.
Compare the parts
Look for consistency across the complete item:
- Does the interior match the exterior?
- Does the box match the sneaker?
- Does the watch reference match the case and dial?
- Do the accessories fit the claimed model?
- Does the condition match the seller’s description?
One mismatch may justify escalation. Multiple mismatches should stop the purchase decision until the item receives further review.
Use a Simple Three-Color Decision Rule
At the end of the 60 seconds, staff should choose one of three outcomes.
✅ Green: Continue the intake
Use this only when:
- The brand and model are plausible
- Construction looks consistent
- Markings appear correct
- No major red flags are present
- The price and seller story make sense
Green does not mean “definitely authentic.” It means the item can continue through your normal intake process.
⚠️ Yellow: Hold and escalate
Choose yellow when:
- One or more details do not match
- The item is difficult to identify
- The price is unusually low
- The seller’s story is unclear
- The item is high value
- Staff members disagree
Do not argue over a borderline item at the counter. Hold it, document it, and send it for expert review.
❌ Red: Decline or isolate
Choose red when there are multiple serious red flags, such as:
- Misspelled brand name
- Nonsensical model or colorway
- Poor-quality construction throughout
- Wrong code format
- Major logo errors
- Obvious mismatch between item and packaging
Follow your store’s policy for declining the item and logging the case. Do not make accusations. Use neutral language such as:
“We are unable to accept this item without additional verification.”
When to Escalate to Human Experts
Your staff should escalate whenever the cost of being wrong is high.
Automatic escalation makes sense for:
- High-value handbags
- Luxury watches
- Limited-edition sneakers
- Designer collaborations
- Items above your store’s purchasing threshold
- Borderline or disputed items
- Items with one serious or several minor red flags
- Any item a trained employee cannot confidently identify
Human experts should receive the right information. Train staff to capture:
- Front, back, top, and bottom views
- Brand logo and interior stamp
- Serial, date, or reference code
- Stitching and hardware close-ups
- Watch dial, caseback, clasp, and crown
- Sneaker tongue label, outsole, insole, and box label
- Condition notes
- Seller-provided receipts or accessories
Authenticate Pro’s process combines technology with human review. When an item is borderline or high value, it moves to human experts for a conclusion with approximately 99% accuracy. That escalation is critical because sophisticated counterfeits can pass a quick visual inspection.
Learn more about the company’s authentication process and services for resale businesses through the membership program.

How to Train Staff in One Week
A short training cycle can establish the habit quickly.
Day 1: Explain the risk
Cover:
- Why counterfeit losses matter
- Why a quick check is not a final authentication
- The store’s accept, hold, and decline policy
- Which brands and categories require automatic escalation
Days 2–3: Practice by category
Use handbags, sneakers, and watches.
For each item, require employees to identify:
- Brand and model
- Material quality
- Stitching and construction
- Markings and codes
- At least one risk signal
Day 4: Run timed drills
Give each employee 60 seconds.
They should finish with a clear decision:
- Continue
- Hold and escalate
- Decline
Day 5: Review mistakes
Discuss where staff disagreed. Use those examples to improve your internal reference library and escalation rules.
Repeat the exercise monthly. Counterfeit methods change. Staff confidence can also become overconfidence if it is not calibrated.
Give Staff a Checklist, Not a Guess
The best frontline employee is not the person who claims to know every brand.
It is the person who:
- Follows the same process
- Notices inconsistencies
- Takes clear photos
- Avoids rushed decisions
- Escalates high-risk items
- Documents the reason for the escalation
Use the 60-second check to protect your store from obvious mistakes. Use human experts when the decision matters most.
That combination gives your team speed at the counter and confidence before the item reaches your sales floor.
If you want to review authentication options, see the current Authenticate Pro pricing or contact the team through the company website. A low-pressure next step is to define your store’s escalation threshold and train your staff to use it consistently.
Leave a Reply