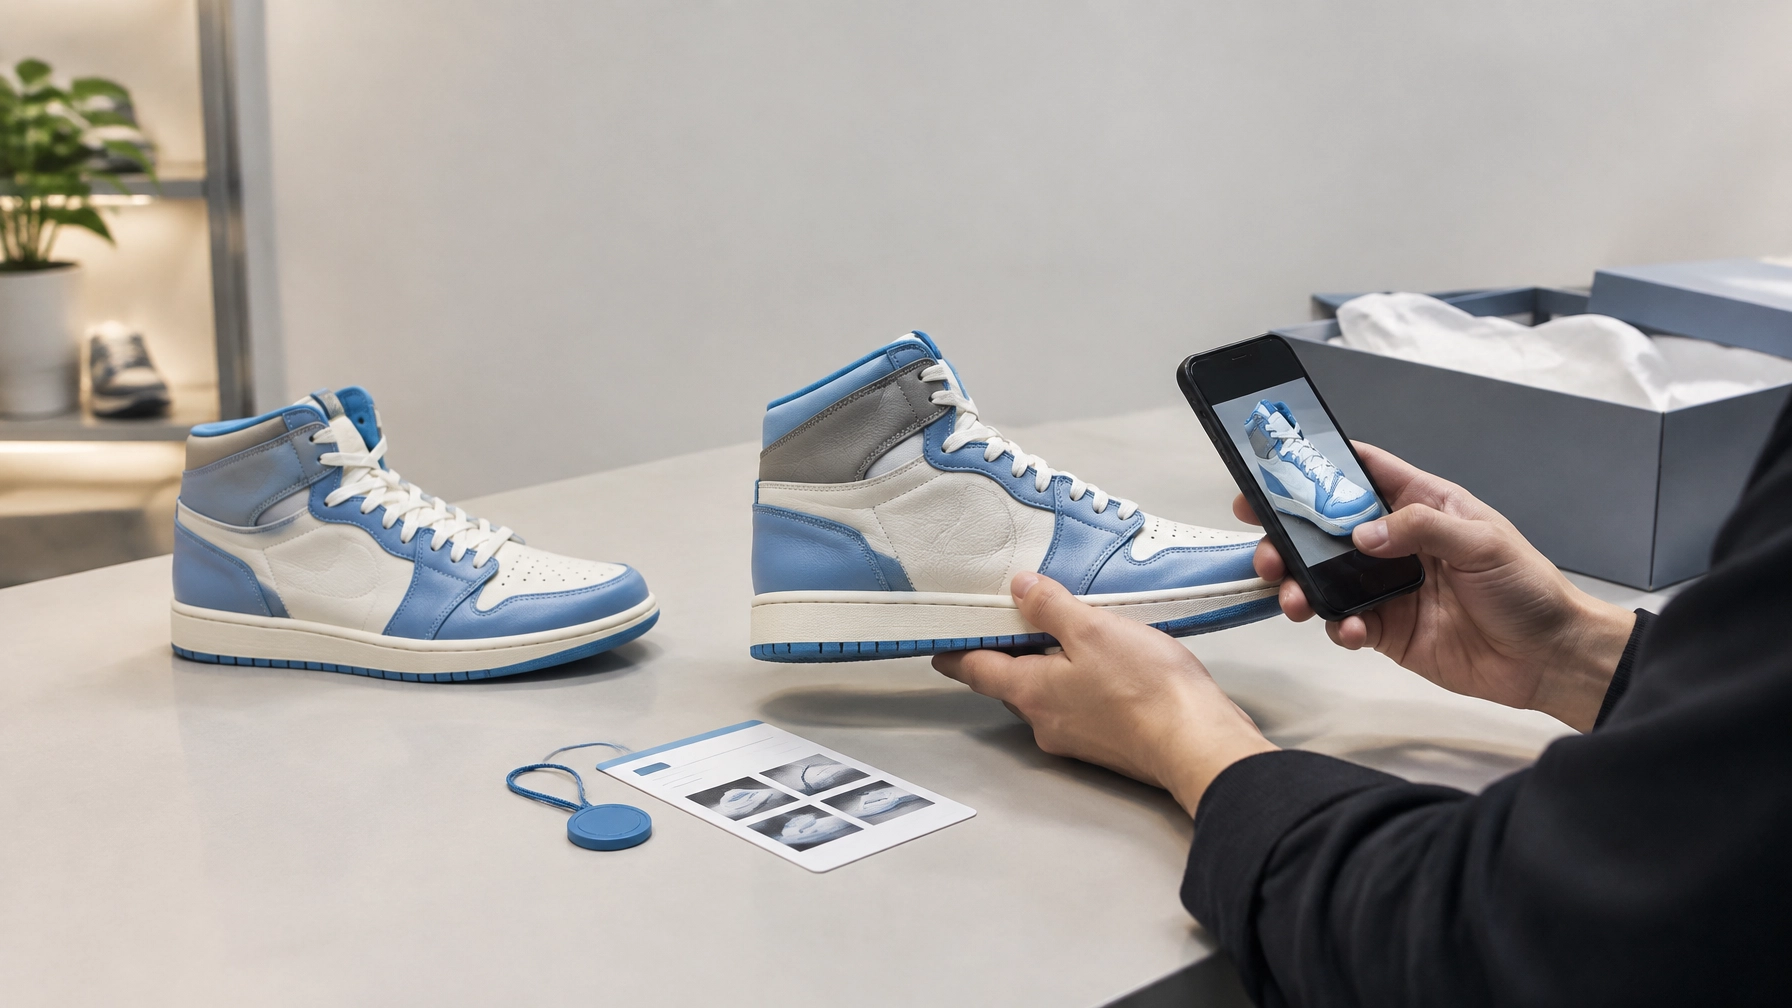
A $400 pair of Air Jordans that turns out to be fake is more than a bad buy.
It can become:
- A customer refund
- A chargeback
- A negative review
- A dead listing
- Lost staff time
- Damage to your store’s reputation
How many times a week does someone ask, “Is this real?”
For resale stores, pawn shops, online thrifters, and TikTok Shop sellers, sneaker authentication needs to be a repeatable intake process. Not a gut feeling. Not a 30-second glance. Not a screenshot from someone else’s listing.
This guide covers practical counterfeit detection for Air Jordans, with special attention to Air Jordan 1s. The model that deserves the deepest inspection because it is one of the most frequently faked sneakers on the market.
The Counter Checklist: Inspect Every Pair in the Same Order
Use the same sequence for every intake. Consistency makes it easier to train staff and document decisions.
1. Start with the box and label
The box is useful. It is not proof.
Check for:
- Sturdy, dense cardboard rather than thin or overly glossy material
- Clean printing with sharp edges
- A straight, properly placed label
- Correct model name and colorway
- Matching size information
- Matching style code or SKU
- Barcode and product details that correspond to the actual pair
On Air Jordan 1s, the style code should follow the expected format and match the code inside the shoe character for character. A mismatch between the box and size tag is a major red flag.
Pay attention to the box label font and style. Counterfeits often show:
- Incorrect letter spacing
- Blurry or overly bold text
- Uneven border lines
- Wrong sizing layout
- Misaligned labels
- Generic-looking typography
Packaging is also one of the easiest things to fake. A convincing box does not authenticate the shoes inside it.
2. Read the size tag and production dates
Move to the size tag inside the shoe.
Confirm that:
- The size matches the box
- The style code matches the box
- The left and right shoes are consistent
- The country of manufacture makes sense for that release
- Production dates fall within a plausible range
- The printing is sharp, aligned, and free of spelling errors
Do not treat one date as a magic answer. Production dates can vary between pairs and releases. The question is whether the full set of information is internally consistent.
A size tag that looks too bold, too thin, crooked, smudged, or poorly spaced deserves a closer review.
3. Inspect the midsole stitching and shape
Look at the stitching around the midsole, toe box, eyelets, and heel.
Authentic pairs generally show controlled construction:
- Even stitch length
- Consistent spacing
- Smooth curves
- No loose thread clusters
- No wandering lines
- No obvious double-backs or overlaps
Also check the midsole shape. Compare the left and right shoes. Look for uneven curvature, excessive bulging, or a shape that does not match reliable reference photos of the same model and colorway.
Stitching density matters, especially around the tongue and upper. Coarse, widely spaced stitching can be a warning sign. But do not reject a pair based on one stitch count alone. Manufacturing variation exists. Look for a pattern of issues.
4. Check the Wings logo and heel logo placement
On an Air Jordan 1, inspect the Wings logo on the ankle panel.
Look for:
- Correct depth and definition
- Crisp edges
- Consistent lettering
- Proper spacing between the logo and surrounding seams
- A clean double-stitch border
- Correct placement on the panel
Fakes often have logos that are too shallow, too small, too thin, or positioned slightly too high or low.
Then inspect the heel. Depending on the model and release, the heel may include a branded detail or a specific panel construction. Check:
- Centering
- Letter spacing
- Stitch alignment
- Heel symmetry
- Panel height
- The shape of the back when viewed straight on
For Air Jordan 1s, the back of the shoe should usually show a recognizable hourglass shape. It should not look completely straight, collapsed, overly rounded, or uneven from left to right.
5. Review the scent and glue lines
Smell can help. It cannot decide the case.
A strong chemical or solvent-like odor may indicate low-quality materials or adhesive. Excessive glue lines around the sole, upper, or insole are also worth documenting.
But some high-grade replicas pass the smell test. They may use better adhesives, better materials, and more controlled factory finishing.
That is why “it smells right” is not sneaker authentication. It is only one observation.
6. Inspect the tongue stitching and insole print
The tongue is frequently overlooked because sellers focus on the obvious exterior logos.
Check:
- Stitching density on the tongue
- Embroidery or printed branding
- Tongue tag alignment
- Thread tension
- Loose fibers
- The shape and padding of the tongue
Then remove the insole when the construction allows it. Review the insole print, adhesive marks, and footbed construction.
Watch for:
- Blurry printing
- Incorrect spacing
- A print that lifts too easily
- Excessive glue
- Inconsistent left-to-right construction
- A footbed that does not match the release

Air Jordan 1 Authentication: The Deepest Inspection
Air Jordan 1s are widely available, heavily traded, and frequently targeted by counterfeiters. They also have enough repeated construction details to make a model-specific process useful.
For an AJ1, focus on the following combination:
Swoosh shape
Do not inspect only the outline. Review:
- The curve of the upper edge
- The angle of the tail
- The width and taper
- Stitching around the perimeter
- Placement relative to the eyelets and heel panel
The exact shape can vary by model, release, and colorway. Compare against high-quality photos of the same pair. Avoid generic internet images that show a different version.
Wings logo depth
The logo should have clean definition and appropriate depth. A shallow, muddy, or poorly separated impression is suspicious.
Check its position relative to the ankle seam. Slight placement differences can be meaningful when combined with poor stitching or incorrect typography.
Hourglass shape
View the shoe from the back at eye level.
Compare:
- Heel symmetry
- Collar height
- Back-panel curvature
- Left-to-right balance
- The transition from the ankle collar into the heel
A pair that looks flat or misshapen from the back needs more review.
Box label font and style code
The box label should match the size tag and the specific release. Confirm:
- Style code
- Size run
- Colorway
- Model name
- Label format
- Font weight and spacing
A real-looking box label with the wrong style code is still a failure.
Why Superfakes Pass Casual Checks
Some UA or replica-grade pairs are built to pass a quick inspection.
They may include:
- Real-looking boxes
- Convincing receipts
- Matching tissue paper
- Factory-style tags
- Stock photos of someone else’s authentic shoes
- Clean-looking product images
- A normal or mildly leathery scent
Packaging and receipts are often easier to reproduce than the shoe itself. A receipt proves that a receipt was printed. It does not prove that the pair in front of you came from that transaction.
Stock photos are even more dangerous. They can show an authentic pair while the seller ships a different one.
For online sellers, this is where screenshot authentication becomes risky. A screenshot may be useful evidence, but it can also be cropped, filtered, outdated, or taken from another listing.
Photo Checks Have Real Limits
Lighting changes texture. Angles hide shape problems. Filters remove color and stitching detail. Compression destroys small typography.
That is why stores lose money on fast counter verdicts.
A 30-second counter check should be a triage filter, never the final verdict on a high-value pair.
If the shoes are worth hundreds of dollars, submit clear, standardized photos showing:
- Full left and right shoes
- Front, side, back, and top views
- Box label
- Both size tags
- Tongue stitching
- Wings logo
- Heel construction
- Midsole stitching
- Insole print
- Any receipt or provenance documents
Use neutral lighting. Avoid filters. Keep the camera square to the label and logos. Photograph the actual pair, not stock images.
The Escalation Path: Move Uncertainty to Human Experts
A practical authentication workflow should look like this:
- Fast intake triage
- Standardized photo collection
- Evidence and intake record
- Escalation to trained human experts
- Documented conclusion
The first pass helps identify obvious risks. It should never pretend that a quick scan can reliably defeat every superfake.
Authenticate Pro combines AI-supported review with human expertise. Authentications move to trained human experts to achieve approximately 99% accuracy, based on the company’s reported authentication history. The result is more than a yes-or-no guess. It creates an evidence trail that can support internal decisions, customer questions, and resale documentation.
This is the role of ACE: Authentication · Community · Experts.
Technology can help organize evidence and identify patterns. Human experts handle the difficult judgment calls. The company’s patented process is built around connecting sellers and buyers with advanced AI systems and human experts.
Learn more about the Authenticate Pro authentication process or review resale store membership options.

When You Are Not Sure, Do This
Do not list the shoes while the question is unresolved.
Follow this procedure:
- Quarantine the pair from verified inventory
- Do not ship or sell it as authentic
- Photograph the item and packaging
- Record the seller, purchase date, price, and source
- Document every concern, including mismatched codes or unusual stitching
- Submit standardized photos for professional authentication
- Keep the item and evidence together until the review is complete
For pawn shops, this record should be part of the pawn shop authentication intake. For resale stores, it belongs in the SKU or inventory file. For TikTok Shop sellers and online thrifters, keep it with the listing evidence and purchase documentation.
The cost of delaying a listing is usually smaller than the cost of a refund, chargeback, platform complaint, or counterfeit claim.
Final Takeaway
Sneaker authentication is not about finding one perfect tell.
It is about checking the entire pair:
- Box and label
- Size tag and dates
- Style code
- Midsole shape
- Stitching density
- Swoosh construction
- Wings logo depth and placement
- Heel shape
- Glue lines and materials
- Tongue stitching
- Insole print
- Source and documentation
Use the counter checklist to filter obvious risks. Then escalate valuable or uncertain pairs to professional authentication.
If you want to authenticate online, start with clear evidence and a documented workflow, not a cropped screenshot or a gut feeling.
Important disclaimer: This article provides general educational screening information. It is not a guarantee of authenticity, a legal opinion, or a substitute for a professional authentication conclusion. Product variations, manufacturing changes, and condition can affect individual details. Do not make a purchase, sale, return, or liability decision based on one feature alone.
Leave a Reply